PowerPoint’s 3D experiences get more enhanced all the time. To begin with, the only way you could animate 3D models was by using the Morph transition effect. Next, you could use the 3D animations. But now, with the new embedded 3D animations feature, you no longer even need to animate, because these new 3D models are already pre-animated!
Why Don’t I See This Feature?
You must be using an Office 365 subscriber version of PowerPoint to access this feature. Also, new features such as this one percolate to all installations of Office 365 in a phased manner. Insider and Monthly Channel versions get these features first, followed by most other users. If you work in a large organization, your system administrator may prevent these updated features from being installed, even if you use an Office 365 subscription version.
Follow these steps to explore the new embedded 3D animations:
- Launch PowerPoint, and add a new slide, or use an existing one. It’s best to choose a slide layout such as Blank or Title Only, so that you have ample slide space.
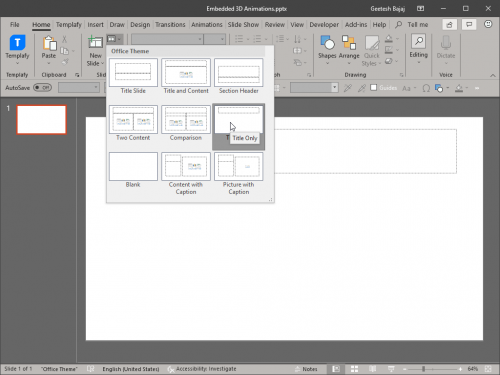
Figure 1: Change Layout to Title Only- Now access the Insert tab of the Ribbon, and choose the 3D Models option, as shown in Figure 2, below. In the flyout menu shown, choose the From Online Sources… option.
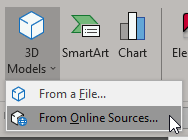
Figure 2: Insert 3D Models- You will now see the Online 3D Models dialog box, as seen in Figure 3, below.
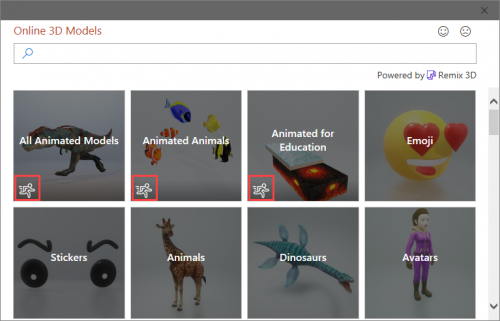
Figure 3: Scenes- As you can see, all models are categorized, but not all categories are equal! Do you see the Scene icon on the first three categories, highlighted in red within Figure 3, above? This icon indicates that the category contains models with embedded 3D animations.
- What does this mean? This means that these new Scene 3D models are different from the older non-Scene 3D models we’ve had in PowerPoint so far. The older non-Scene 3D models are single objects that can be manipulated in space. The new Scene 3D models with embedded animations consist of multiple separate objects that possess pre-designed movement paths.
- Let’s choose the All Animated Models category. You will now see several animated models, as shown in Figure 4, below. Let’s select the Toaster model, and the Insert button now shows the number of 3D models you have selected. Click the Insert button.
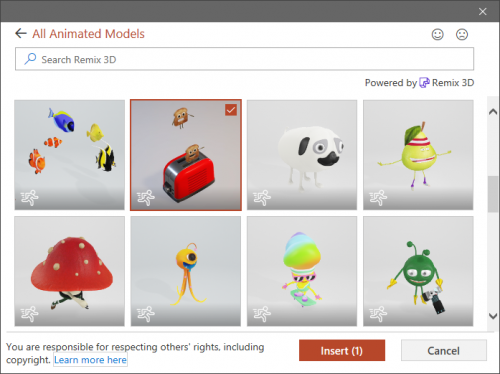
Figure 4: All Animated Models- PowerPoint now imports the model from the online resource, as can be seen in Figure 5, below.
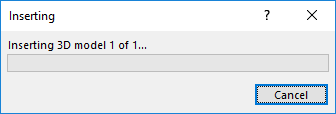
Figure 5: Inserting 3D Model- Soon enough, the model is placed on your slide, as can be seen in Figure 6, below.
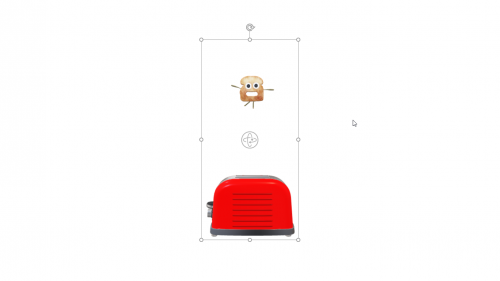
Figure 6: Animated 3D Model on a White Background- Notice the piece of toasted bread flying out of the toaster in Figure 6, above? There were actually two pieces, and I could only capture one of them! Also, the 3D model contains transparent areas, which is not so obvious in a slide with a white background, so here’s another screenshot of the same slide with a colored background, in Figure 7, below. Also, I managed to get both pieces of the toast in the screenshot this time around.
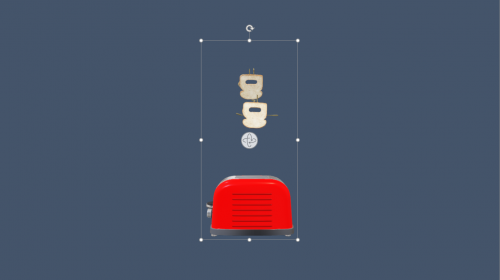
Figure 7: Animated 3D Model on a Colored Background- Look at the Rotation handle right in the center of the 3D model, highlighted in red within Figure 8, below. Bring your pointer closer to this Rotation handle, and the cursor will change its appearance as can be seen in Figure 8.
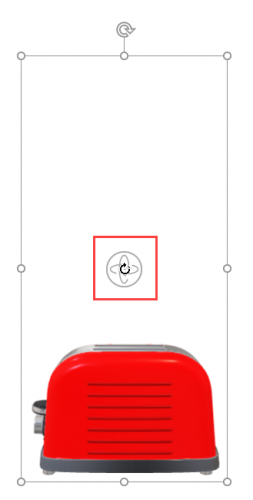
Figure 8: Rotation handle- You can now drag this cursor leftwards, rightwards, downwards, upwards, or in any other direction to rotate the model in 3D space, as can be seen in Figure 9, below. This sort of rotation can be so much fun, and addictive too–so be thoughtful about your time!
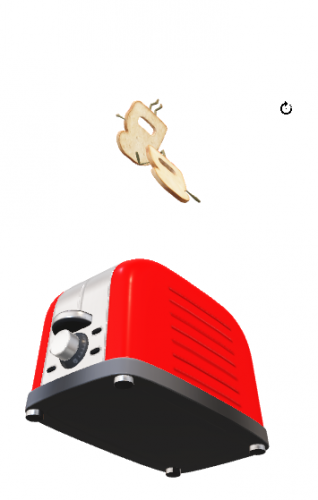
Figure 9: Rotate in 3D space- Play your slide to preview the animation. Make sure you save your presentation.
You can do so much more with these 3D models. You can turn off the embedded animations, or explore alternative embedded animations. We will explore these fascinating options in another post soon.

Geetesh Bajaj is an internationally acclaimed PowerPoint, storyboarding, info-diagramming and presenting expert who has been awarded the Microsoft PowerPoint MVP (Most Valuable Professional) every single year for 18 years now. He is also on the Board of Directors for the Presentation Guild, a presentation industry trade association, based out of Cincinnati, USA.
Based out of Hyderabad, India, he believes that any presentation is a sum of its elements—these include abstract elements like story, concept, color, interactivity, and navigation—and also slide elements like shapes, graphics, charts, text, sound, video, and animation. Geetesh has authored six books.
